


Table of contents
Getting Started with Dependency Injection in Umbraco
In this guide, we will delve into the intricacies of setting up Dependency Injection (DI) in an Umbraco V7 project with the help of an Inversion of Control (IoC) container.
The .NET ecosystem offers a plethora of IoC containers.
If you're looking for insights on which to choose based on performance, consider checking out the IoC Performance for a comparative review.
For this tutorial, we'll be highlighting Autofac.
With the proper configuration, Dependency Injection becomes a breeze in both MVC and Web API controllers.
By leveraging DI, not only can we seamlessly introduce components like services into our controllers, but we also stand to gain the following benefits:
-
Configuration Flexibility: Tailor the setup based on specific requirements.
-
Loosely Coupled Architecture: Promote modularity and reduce interdependence between components.
-
Easier Testing: Facilitate testing using mock objects to simulate real-world behavior.
-
Abstraction from Concrete Implementations: Code against interfaces rather than specific implementations, promoting better code practices.
-
Parallel Development: Allow different components to be developed concurrently or independently.
Often, our websites need to interface with other services, which might necessitate the creation of a REST endpoint to disseminate data.
With Umbraco.Web.WebApi.UmbracoApiController, this task becomes simple.
This class seamlessly integrates with the conventional WebApi framework, granting access to Umbraco-specific objects and services.
In this tutorial, we'll learn how to harness the power of Dependency Injection in our sample controllers. Let's dive in!
Setting Up the Solution
Let's get started with setting up our solution.
Here's a step-by-step guide to ensure you get everything up and running seamlessly:
- Initialize Your Project: Begin by creating a .NET solution and include an empty .NET ASP project within it.
- Integrate Umbraco CMS: Navigate to the NuGet repository and install the Umbraco CMS.
- Incorporate Autofac: Once Umbraco CMS is set up, head over to the NuGet Package Manager.
Here, you'll need to install the Autofac library along with its essential dependencies:
- Autofac.MVC5
- Autofac.WebApi2
With these initial steps completed, you're now ready to harness the synergy of Umbraco and Autofac for your Web API and MVC projects.
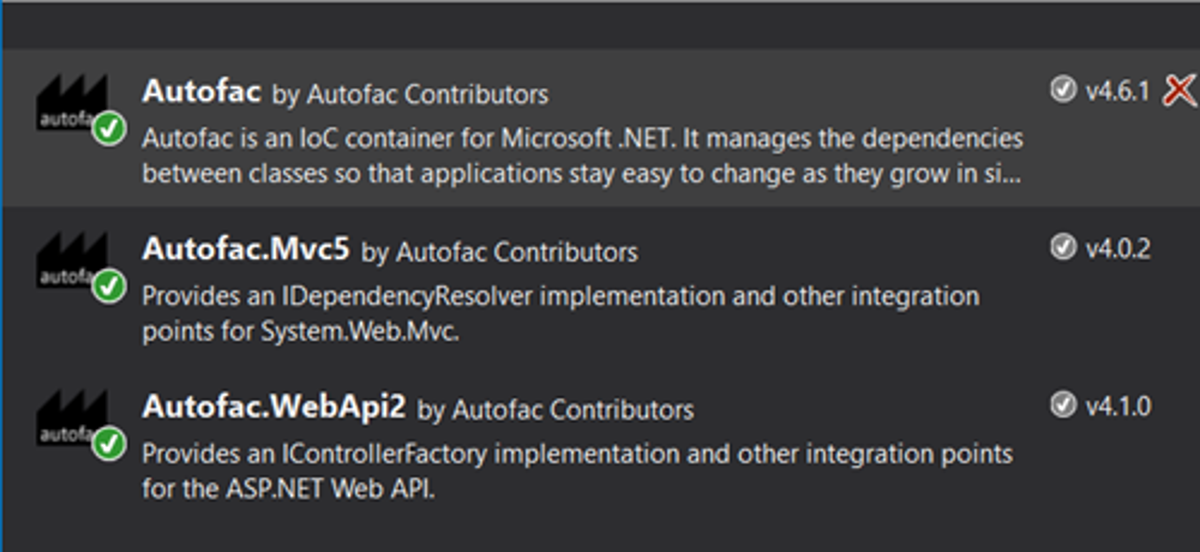
NuGet Autofac.MVC5 & Autofac.WebApi2 packages
Once you've successfully installed all the required packages, you're all set to configure and utilize Autofac.
Here's how:
1. Initializing Autofac Container: The ideal juncture to set up the Autofac container is during the 'Umbraco application started' event.
2. Registering the IoC Container: Make use of the RegisterIoCContainer() method. This method encapsulates the logic required to construct the container.
protected override void ApplicationStarted(UmbracoApplicationBase umbracoApplication, ApplicationContext applicationContext)
        {
            GlobalConfiguration.Configuration.Formatters.XmlFormatter.SupportedMediaTypes.Clear();
            RegisterIoCContainer();
        }
private void RegisterIoCContainer()
{
var builder = new ContainerBuilder();
/* MVC Controllers */
builder.RegisterControllers(Assembly.GetExecutingAssembly());
builder.RegisterAssemblyModules(Assembly.GetExecutingAssembly());
builder.RegisterModelBinders(Assembly.GetExecutingAssembly());
builder.RegisterModelBinderProvider();
/* WebApi Controllers */
builder.RegisterApiControllers(typeof(UmbracoApplication).Assembly);
builder.RegisterApiControllers(Assembly.GetExecutingAssembly());
builder.RegisterModule<WebModule>();
var container = builder.Build();
DependencyResolver.SetResolver(new AutofacDependencyResolver(container));
GlobalConfiguration.Configuration.DependencyResolver = new AutofacWebApiDependencyResolver(container);
}The WebModule class serves as a way to bundle related components into a cohesive unit.
This modular approach is highly recommended because of its flexibility.
Although in this instance we're registering only two components - SampleService and UmbracoContext - you have the freedom to register any number of components based on your requirements.
And the cherry on top?
With the configuration mentioned, UmbracoContext.Current becomes available for Dependency Injection.
public class WebModule : Module
    {
        protected override void Load(ContainerBuilder builder)
        {
            builder.RegisterType<SampleService>()
                .As<ISampleService>();

            builder.Register(c => UmbracoContext.Current).AsSelf();
        }
    }
Fetching Data with Sample Service
To showcase data retrieval, we're going to construct a rudimentary service named SampleService.
This service will house a method, GetItems(), which will churn out a list of dummy data items.
Our goal? We aim to utilize this data in both RenderMVCController and UmbracoApiController.
Here's a glimpse of our SampleService:
public class SampleService : ISampleService
    {
        public IList<string> GetItems()
        {
            return new List<string>()
            {
                "Autofac",
                "Ninject",
                "Unity",
                "Castle Windsor",
                "Spring.NET",
                "StructureMap"
            };
        }
    }
With this service in place, fetching and displaying data within our Umbraco controllers becomes a streamlined process, whether we're working with traditional MVC controllers or diving into Umbraco's API-specific controllers.
Web API Controller
First, we have a Web API controller, SampleWebApiController, that's derived from UmbracoApiController.
This controller is designed to work with our earlier SampleService, allowing it to fetch a list of items.
public class SampleWebApiController : UmbracoApiController
    {
        private readonly ISampleService _sampleService;

        public SampleWebApiController(ISampleService sampleService)
        {
            _sampleService = sampleService;
        }

        [System.Web.Http.HttpGet]
        public JsonResult Get()
        {
            return new JsonResult() { Data = new { items = _sampleService.GetItems() }, JsonRequestBehavior = JsonRequestBehavior.AllowGet };
        }
    }
Setting Up MVC Controllers and Views
To display the fetched data in a view, follow these steps:
- Create a Document Type: Head to the Umbraco back office and set up a document type named “SampleRenderMvc”, associating it with a template.
- Construct the Controller: Navigate to the “Controllers” folder and fashion a new controller class named “SampleRenderMvcController”. With the ISampleService injected via its constructor, this controller can easily fetch the list of items.
public class SampleRenderMvcController : RenderMvcController
    {
        private readonly ISampleService _sampleService;

        public SampleRenderMvcController(ISampleService sampleService)
        {
            _sampleService = sampleService;
        }

        public ActionResult Index(RenderModel model)
        {
            return CurrentTemplate(new ExtendedModel(model.Content) { Items = _sampleService.GetItems() });
        }
    }

    public class ExtendedModel : RenderModel
    {
        public ExtendedModel(IPublishedContent content)
            : base(content)
        {
        }

        public IList<string> Items { get; set; }
    }
Develop the View: With the SampleRenderMvcController ready to roll, let's craft a complementary view.
This view will be built upon the ExtendedModel, showcasing the list of items.
First, steer to the "Views" folder and transition the view type from UmbracoTemplatePage to UmbracoViewPage.
Using the UmbracoViewPage view, you can effortlessly loop through the custom model property and render the list of IoC containers:
@inherits Umbraco.Web.Mvc.UmbracoViewPage<UmbracoCMSDIMixedMode.Web.Controllers.RenderMvc.ExtendedModel>
@using ContentModels = Umbraco.Web.PublishedContentModels;
@{
    Layout = null;
}

<p>Popular IoC list:</p>

<ul>
    @foreach (var item in Model.Items)
    {
        <li>@item</li>
    }
</ul>
Testing API Endpoints
Testing API requests can be a straightforward process.
For our assessment, I've chosen Fiddler, a widely acknowledged REST API client.
Illustrative Breakdown: Below is a visual representation where we've fetched a list of service dummy items using Fiddler:
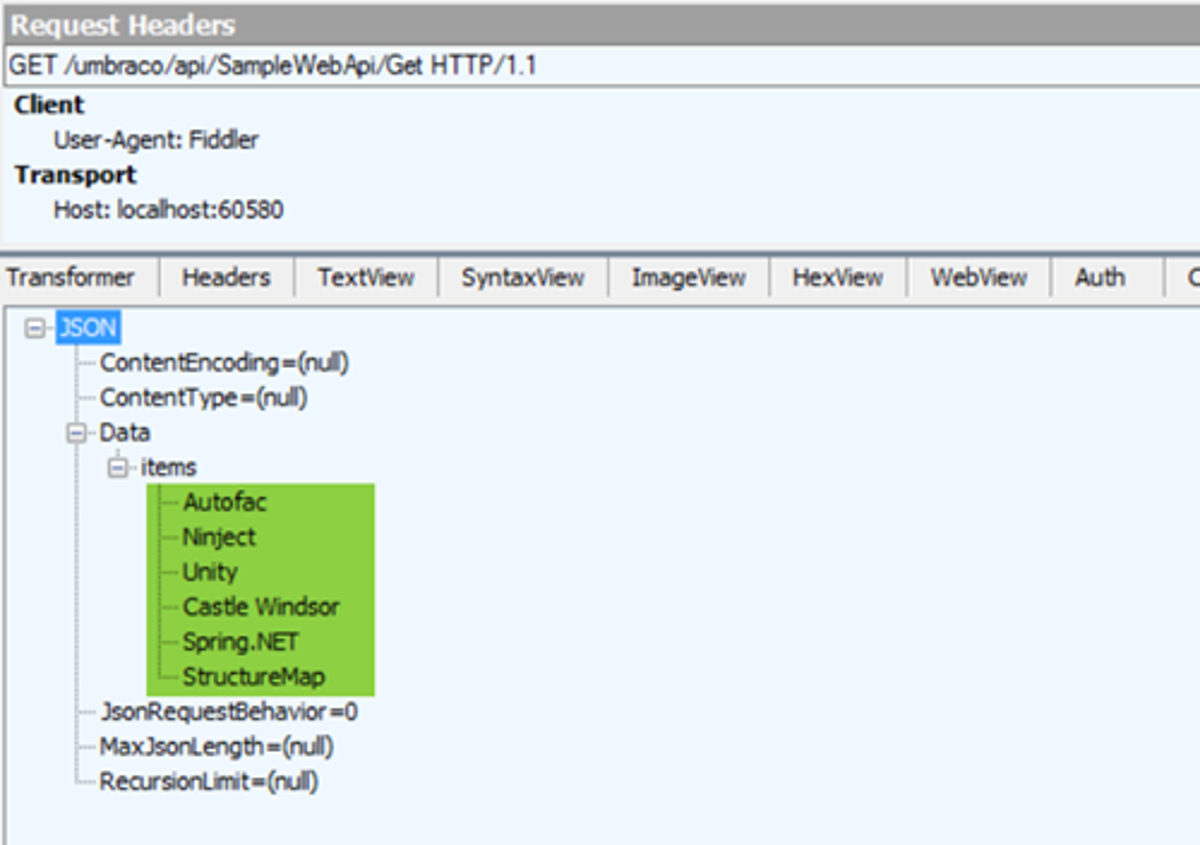
Postman request to Umbraco API
Inspecting the MVC View Display
To verify that our MVC view accurately renders the service data, simply navigate to the path of the content node in your browser.
For this demonstration, I'm using the root folder as the path.
Below is an image illustrating the MVC view, which prominently showcases the IoC collection.
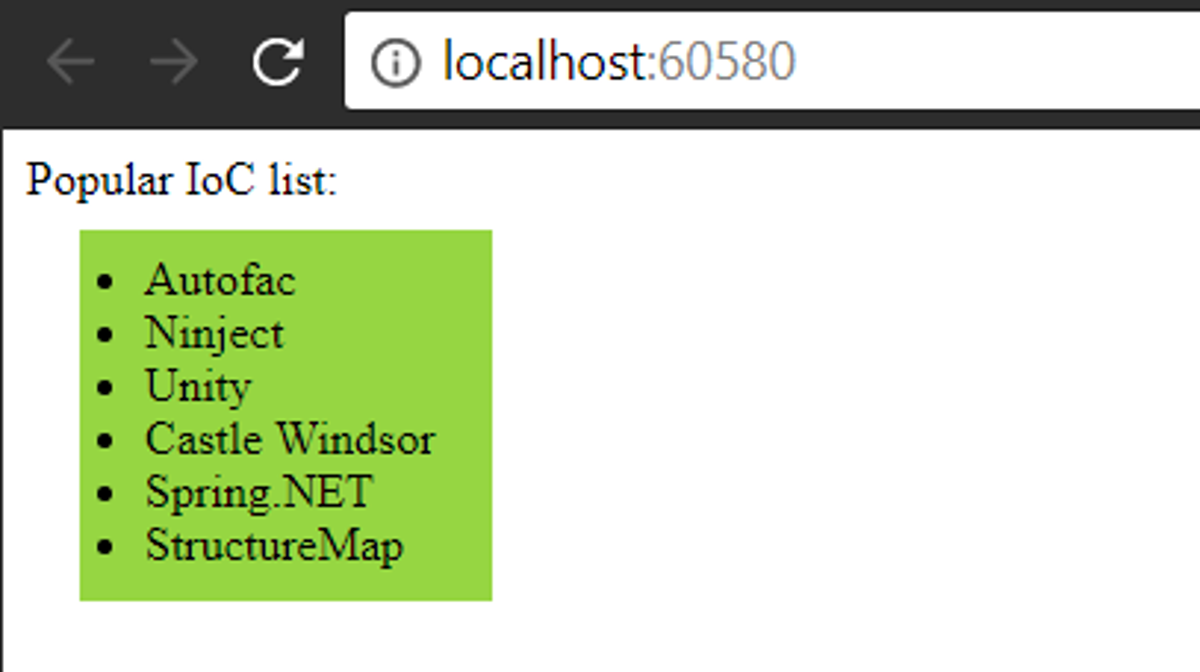
Umbraco is rendering the API data.
Wrapping Up
We've journeyed through the nuances of integrating Dependency Injection in Umbraco 7 with Autofac, from the basics of setting up to testing the implementation manually.
By harnessing the power of renowned tools and best practices, you can now effectively enhance the modularity, testability, and maintainability of your Umbraco applications.
You can find the source code on GitHub.
As always, diving into the source code offers a deeper understanding.
Thank you for accompanying me on this tutorial.
I hope you found it insightful and applicable to your projects.
Should you have any questions or insights to share, feel free to reach out.
Happy coding!